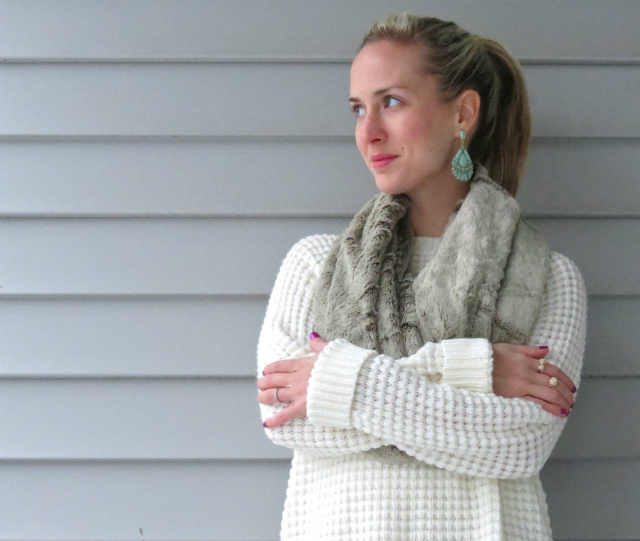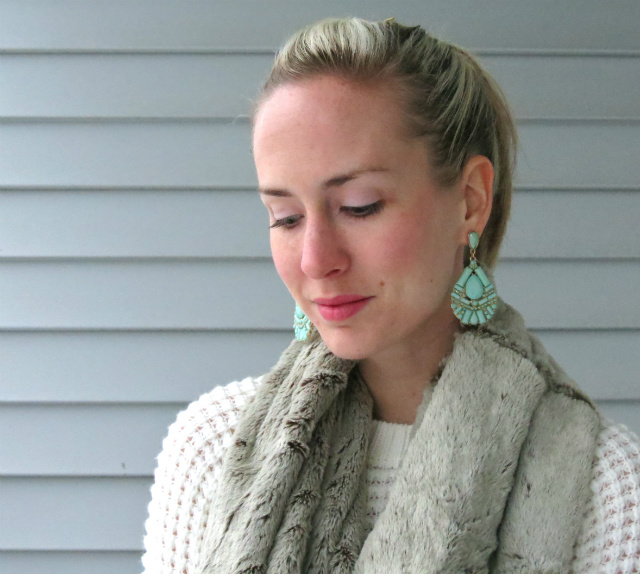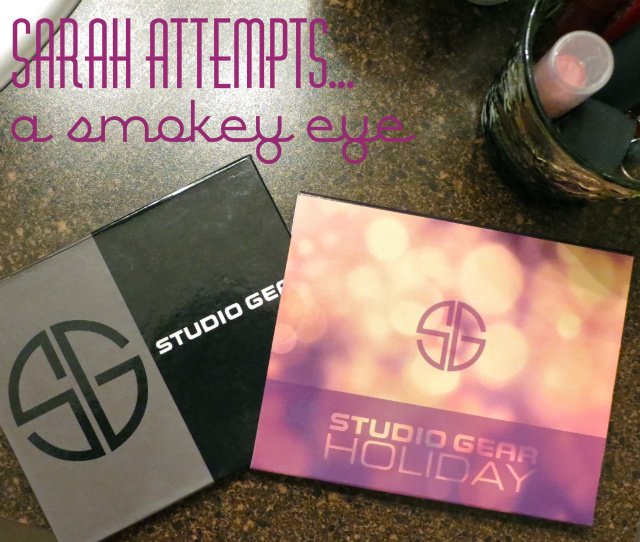
Studio Gear sent me their new Holiday Smokey Eye Palette last week, so I decided to try my hand at a makeup post! In general, I feel like I’m pretty good at doing my makeup, but I also don’t switch it up very much. Like generally my idea of “special occasion” makeup is just normal makeup plus mascara on the bottom lashes. I’ve tried doing a smokey eye before, and I usually just ended up looking like a raccoon.
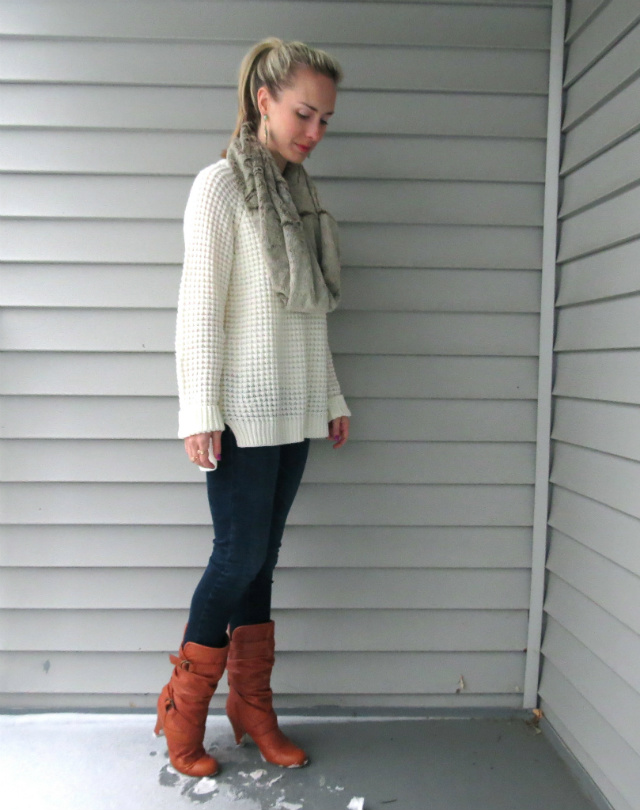
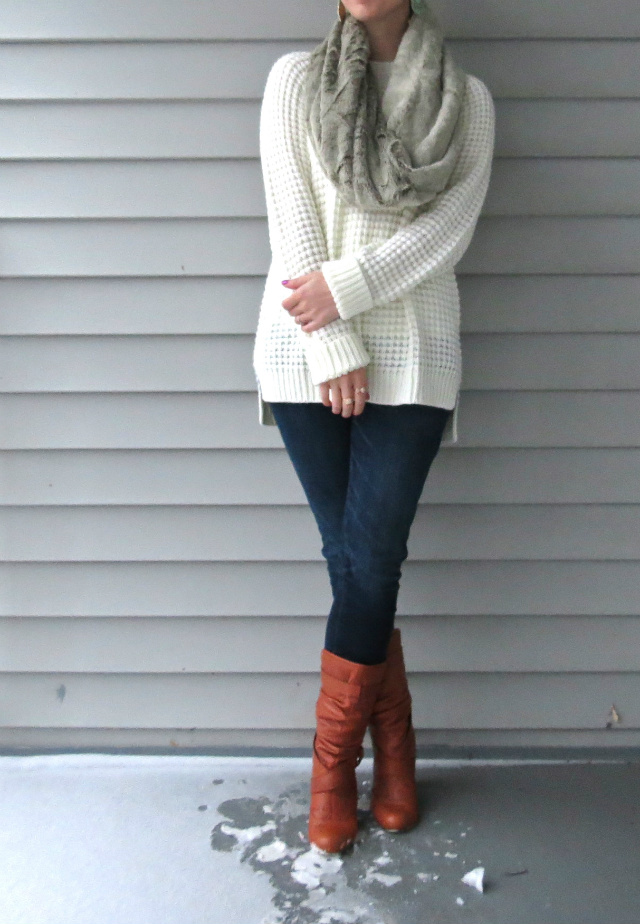
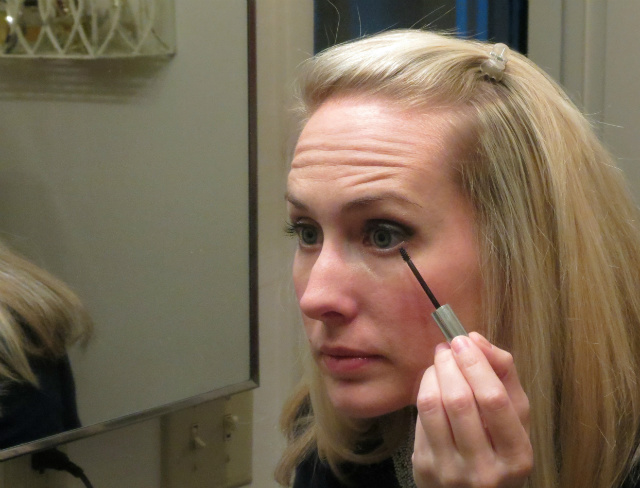
But the Studio Gear Holiday Smokey Eye Palette comes with step-by-step instructions so I figured why not give it another go? In the grand tradition of Sarah’s Real Life, I took photos in my bathroom, where my cat joined me halfway through the process. I didn’t use any of the fancy tools specified in the instructions; I just used the brushes I already had. I also didn’t practice beforehand, so this should actually give you a realistic idea of how your own attempt might turn out (i.e. nothing like the illustration shows but still fine).
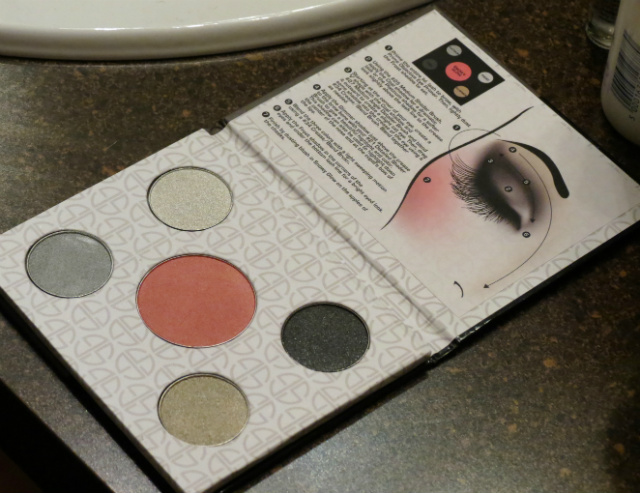
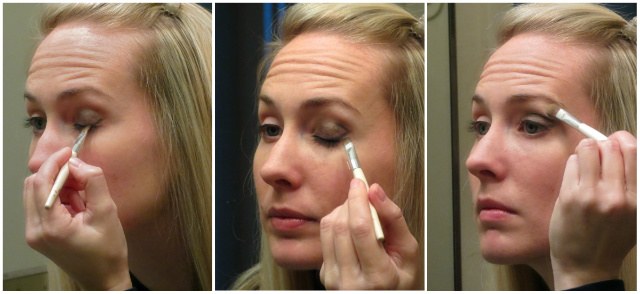
The instructions give you options for a dramatic look and a more subtle look. I went all out dramatic with the dark charcoal color. Look out, world! After applying the light, pearly color all over, then the dark gray color on the lid, the instructions said to use an angle brush to create a V shape with the dark gray. I wasn’t really sure what that meant, but I decided it meant something like the middle photo above. In hindsight, I think maybe I was supposed to use it all the way down the lashline and down the whole crease. Oh well. Next time.
The real challenge was trying to blend the “V” so it didn’t look like I was just a crazy person who didn’t know how to put on eyeliner. Studio Gear suggests using their special blending brush, which I don’t have, but maybe I should look into it. (Does anyone know what that is? Do you have one? And is it worth it?)
Then the pearly color goes in the corner of the eye and under the lower lashline. I did this, but I couldn’t really tell the difference. Once again this could be because of the brush I used. Or because I didn’t use primer. In other words I don’t follow directions well so I really shouldn’t complain when my results aren’t perfect.
Finally, there’s a pretty gold shimmery color that goes under the brow bone. That was my favorite part. I love a good brow bone highlight, and the gold is a festive touch.
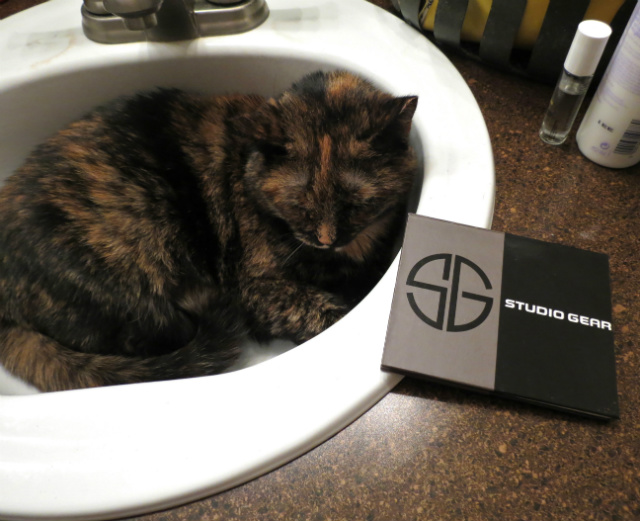
This also happened. I think she heard me say “cat eye” and thought I needed her help. Very helpful, Coco. Thanks.
The Holiday palette includes a nice blush, and I also added my own mascara. Like I said before, this is normally the only thing I do to make my eye makeup fancy. I use the Clinique Bottom Lash Mascara because one time I needed to spend another $10 to get the free gift and this mascara was exactly $10.
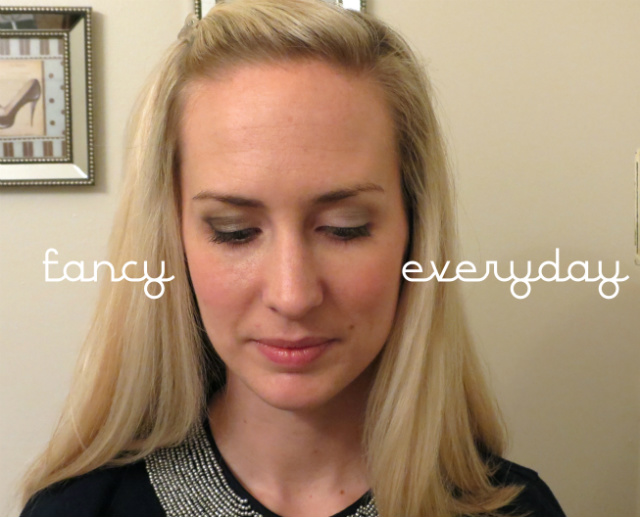
So there you have it! My “smokey” eye is the one on the left above. It really doesn’t look that smokey, does it? But hey, I played it safe, and at least I don’t look like a raccoon. It’s a nice change from the ordinary, and hopefully I’ll get better with practice. If I have any smokey eye pros out there, TELL ME YOUR SECRETS.
On the other eye, I used two of the colors in the Holiday palette to make a more typical (for me) look. I used the light, pearly color from lash line up to the brow bone, then used the pretty, light gray color on the outside half of the lid. Maybe I’m just boring, but I think I like the toned down version better!
*Thank you to Studio Gear for providing me with the Holiday Smokey Eye Palette for my review. All opinions are my own. Studio Gear is also offering a 10% discount on any order from their website! Just use the code SGHOLIDAY.