Raise your hand if you love taking your clothes to the dry cleaner!!! Is your hand up? Put it down. You’re a liar, and your wool pants are on fire.
Let me tell you what I used to do with my dry clean only clothes. I would wear them as many times as I could before they got gross, and then I would put them on the floor in the corner of my closet. Then I would wait and gradually add more things to the dry cleaning pile. Then I would wait some more. I’m talking months, not days. Eventually, there would come a point when I really wanted to wear something that was in that pile, so I would take everything to the cleaners. Then I would go pick them up a couple days later and be mad at (1) how much it cost (is that where the phrase “taking them to the cleaners” came from?) and (2) the fact that I had to drive a quarter of a mile out of my way…twice (#firstworldproblems).
But guess what? I am now a Blog Ambassador for Dryel! In addition to the fact that you must now refer to me only as “Madame Ambassador,” I also get to try out Dryel’s at-home dry cleaner product and tell you about. Spoiler alert: it is cheaper, easier, and I might just clean my clothes more than twice a year now.
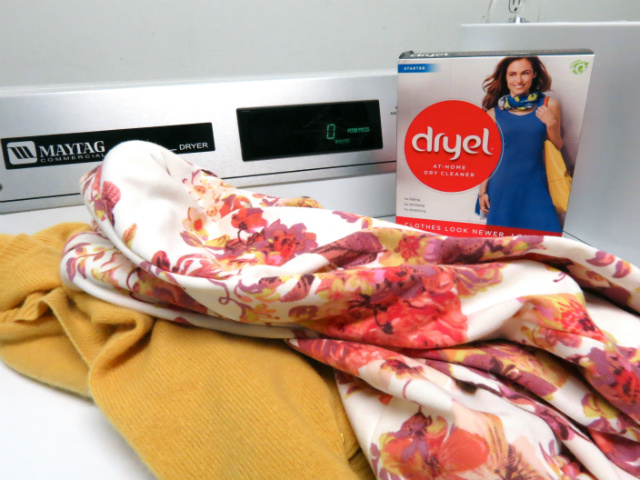
So let’s do this thing. The starter kit ($6.99) comes with a big bag to put your clothes in, a couple cleaning cloths, and a booster spray. The starter kit lets you do 2 loads of up to 5 garments, and you can get refill packs after that.
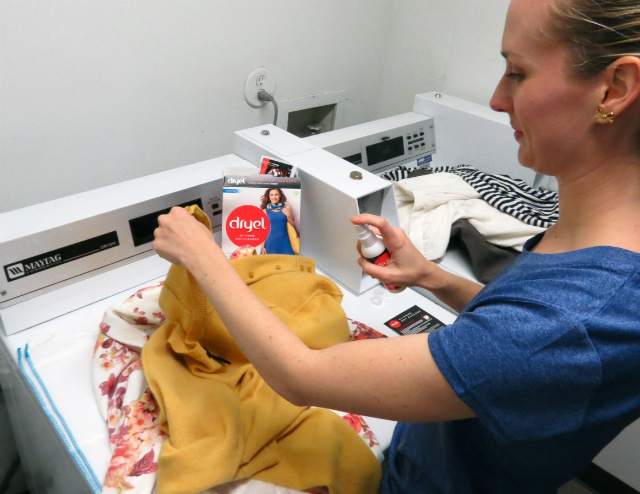
The booster spray is for if you have any extra dirty spots. I just used my spray on the armpits of all my stuff, as I am a human being.
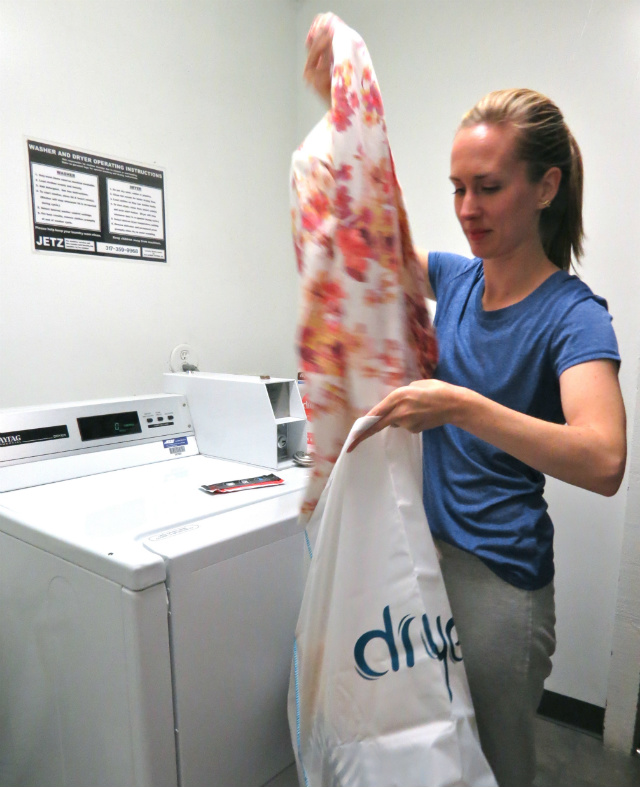
Then you put your clothes in the bag. You don’t want to fill it up all the way, but it’s a big bag. I was able to do 2 jackets, 1 sweater, 1 skirt, and 1 dress.
As a side note, try not to be too jealous of how amazing I look in my post-workout laundry-doing outfit. Not everyone can look this sexy 24/7. But I’m sure you have your own strengths.
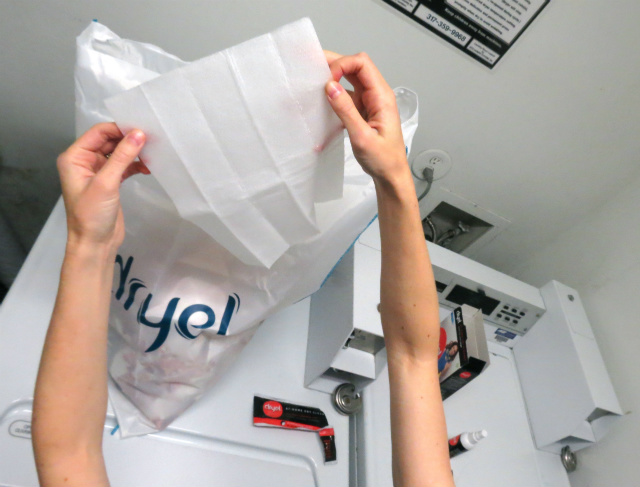
Then you put in one of the cleaning cloths. They’re kinda wet and soapy, and they smell pretty.
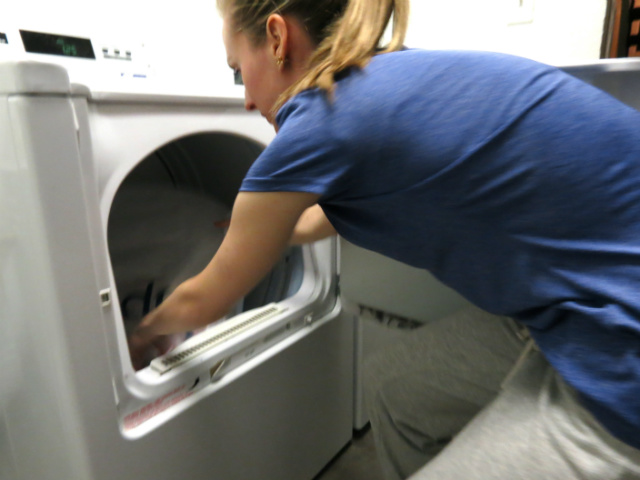
Zip up the bag, and throw it in the dryer for 15 – 30 minutes, depending on how nasty and dirty you…I mean, your clothes…are.
DING! You’re done, and now you can make this excited face:
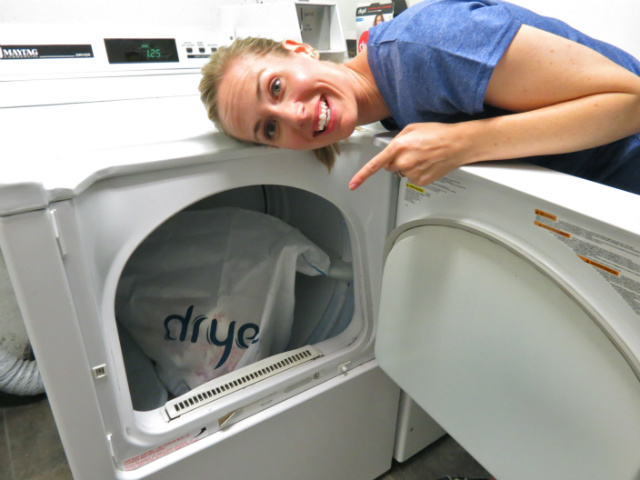
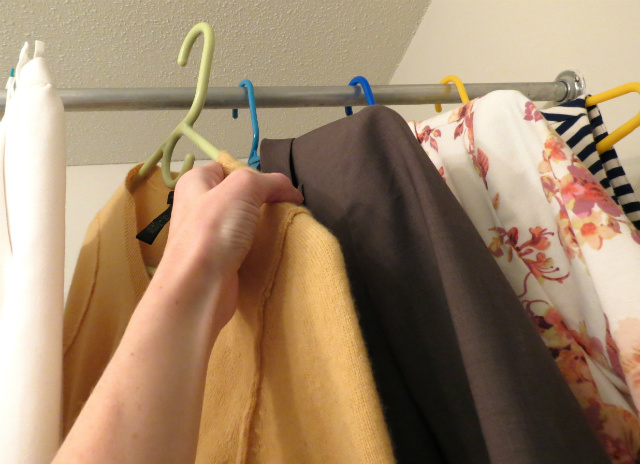
When you take your clothes out of the bag, they should actually still be a little wet, so then you just hang them up to finish drying. Everything I cleaned came out looking and smelling great! There were even a lot less wrinkles than when I started, so that was a pleasant surprise. The only complaint I have is that you’re not supposed to use Dryel on silk or rayon. I’m a little tempted to try it anyway just to see what happens, but what kind of ambassador would I be if I encouraged you to break the rules? A bad one. So pretend I never said that.
In case you didn’t know, Dryel is sold at pretty much all major retailers, and it’s now in a nice bright red box so it’s easy to spot. In addition to clothes, you can also use it to clean your fancy linens if you’re one of those people that throws elegant holiday parties (in which case, I eagerly await my invitation).
And there you have it. This post was obviously sponsored by Dryel, and I was provided with the product for free. However, all the thoughts expressed in this post are mine and are 100% true (especially the part about wanting to go to your holiday party). If you have any questions about my thoughts on this product, just leave a comment and I will respond honestly.